



Post-Surgery Shoulder Exercises: A Safe Return-to-Strength Protocol
Recovering from shoulder surgery requires patience, precision, and a clear understanding of what your healing tissue can and cannot tolerate at each stage of recovery. Whether you have had a rotator cuff repair, labral reconstruction, shoulder stabilization surgery, or total shoulder replacement, the fundamental principles of post-surgical rehabilitation are the same: protect the repair, restore mobility, rebuild strength, and return to function in a sequence that respects the biology of tissue healing. This guide provides a practical, phase-based return-to-strength protocol for post-surgical shoulder patients.
Before You Begin: Working with Your Surgical Team
The exercises in this guide provide a general framework for post-surgical shoulder rehabilitation. Your specific protocol must be developed in collaboration with your surgeon and physical therapist, who can account for the type of surgery performed, the extent of the repair, the quality of the tissue, and your individual healing response. Never modify your protocol based on how you feel alone; healing tissue may feel comfortable before it is ready for increased loading. Always follow your surgeon's specific restrictions regarding range of motion, weight bearing, and activity.
Phase 1: Protection and Gentle Mobilization (Weeks 0 to 6)
The first six weeks after shoulder surgery are the most critical for protecting the repair. Most patients are in a sling during this period, and active use of the repaired shoulder is restricted. The goals of this phase are to protect the healing tissue, manage pain and swelling, and prevent excessive joint stiffness.
Pendulum Exercises: Beginning within the first week post-surgery (with your surgeon's approval), pendulum exercises use gravity and gentle momentum to maintain shoulder joint mobility without placing active load on the repair. Stand beside a table, lean forward, and allow your affected arm to hang freely. Gently swing the arm in small circles, forward and backward, and side to side. Perform for 2 minutes, two to three times daily. Keep the circles small and the movement passive.
Elbow, Wrist, and Hand Exercises: While the shoulder is immobilized, maintaining mobility in the elbow, wrist, and hand prevents stiffness and reduces swelling. Perform gentle elbow flexion and extension, wrist circles, and finger squeezes throughout the day.
Ice and Elevation: Apply ice for 15 to 20 minutes several times daily to manage post-surgical inflammation. Elevate the arm when resting to reduce swelling. These simple measures significantly improve comfort during the early recovery period.
Phase 2: Restoring Range of Motion (Weeks 6 to 12)
As the repair gains sufficient strength to tolerate gentle active loading, the focus shifts to restoring active range of motion. The sling is typically discontinued during this phase, and you will begin to use the arm for light daily activities such as eating and personal hygiene.
Supine Active Assisted Flexion: Lie on your back holding a cane or wand with both hands. Use your unaffected arm to help lift your affected arm overhead, assisting the movement so that the repaired muscles are not working against gravity alone. Perform 3 sets of 15 repetitions. Progress gradually to active (unassisted) flexion as strength allows.
Supine External Rotation: Lie on your back with your affected arm at your side, elbow bent to 90 degrees. Gently rotate your forearm outward, using your opposite hand to assist if needed. Perform 3 sets of 15 repetitions. External rotation is often the most restricted movement after shoulder surgery and requires consistent daily work to restore.
Pulleys: If you have access to an over-door pulley system, use it to perform assisted overhead flexion. Sit or stand facing the door. Hold the pulley handle with your affected hand and use your unaffected arm to pull the rope, lifting your affected arm overhead. Perform 3 sets of 15 repetitions. Pulleys allow you to achieve overhead range of motion before you have sufficient strength to do so actively.
Phase 3: Strengthening (Weeks 12 to 20)
Once active range of motion is restored and the repair has sufficient biological maturity to tolerate resistance training, progressive strengthening begins. This phase uses resistance bands to provide controlled, progressive loading of the rotator cuff and scapular stabilizers. The Iron Neck resistance bands offer multiple resistance levels that allow you to begin with very light resistance and progress systematically as your strength improves.
Band External Rotation: Attach a resistance band to a fixed point at elbow height. Stand sideways to the band with your affected arm closest to the anchor. Hold the band with your affected hand, elbow bent to 90 degrees and pressed against your side. Rotate your forearm outward against the resistance. Return slowly. Perform 3 sets of 15 repetitions. Begin with the lightest available resistance.
Band Rows: Attach a resistance band at chest height. Pull the band toward your chest by squeezing your shoulder blades together, keeping your elbows close to your sides. Perform 3 sets of 15 repetitions.
Band Face Pulls: Attach a resistance band at face height. Pull the band toward your face while simultaneously externally rotating your shoulders. Squeeze your shoulder blades together and down at the end of the movement. Perform 3 sets of 15 repetitions.
Prone Y-T-W Raises: Lie face down with your arms extended overhead in a Y position. Lift your arms off the floor by squeezing your lower trapezius. Hold for 2 seconds and lower. Move your arms to a T position and repeat. Then bend your elbows to 90 degrees in a W position and repeat. Perform 2 sets of 10 repetitions in each position.
Phase 4: Functional Strengthening and Return to Activity (Months 5 to 12)
The final phase focuses on building the strength, endurance, and functional capacity needed to return to full activity. This phase is highly individual and depends on your specific goals and the demands of your daily life and sport.
Progressive Overhead Strengthening: Begin with wall slides and progress to overhead pressing movements as strength and pain allow. Start with very light resistance and increase gradually. Overhead pressing should not be introduced until you have full pain-free range of motion and at least 80 percent of your strength compared to the unaffected side.
Sport-Specific Training: If you are returning to a throwing sport, racquet sport, or other overhead activity, sport-specific progressive loading should begin in this phase under the guidance of your physical therapist or sports medicine physician.
Signs of Complications to Watch For
Report any of the following to your surgeon promptly: a sudden increase in pain after a period of improvement, significant swelling that develops after the first two weeks, a popping or tearing sensation in the shoulder, loss of range of motion that was previously achieved, or fever and redness around the surgical site. These may indicate a complication such as re-tear, infection, or adhesive capsulitis that requires prompt medical attention.
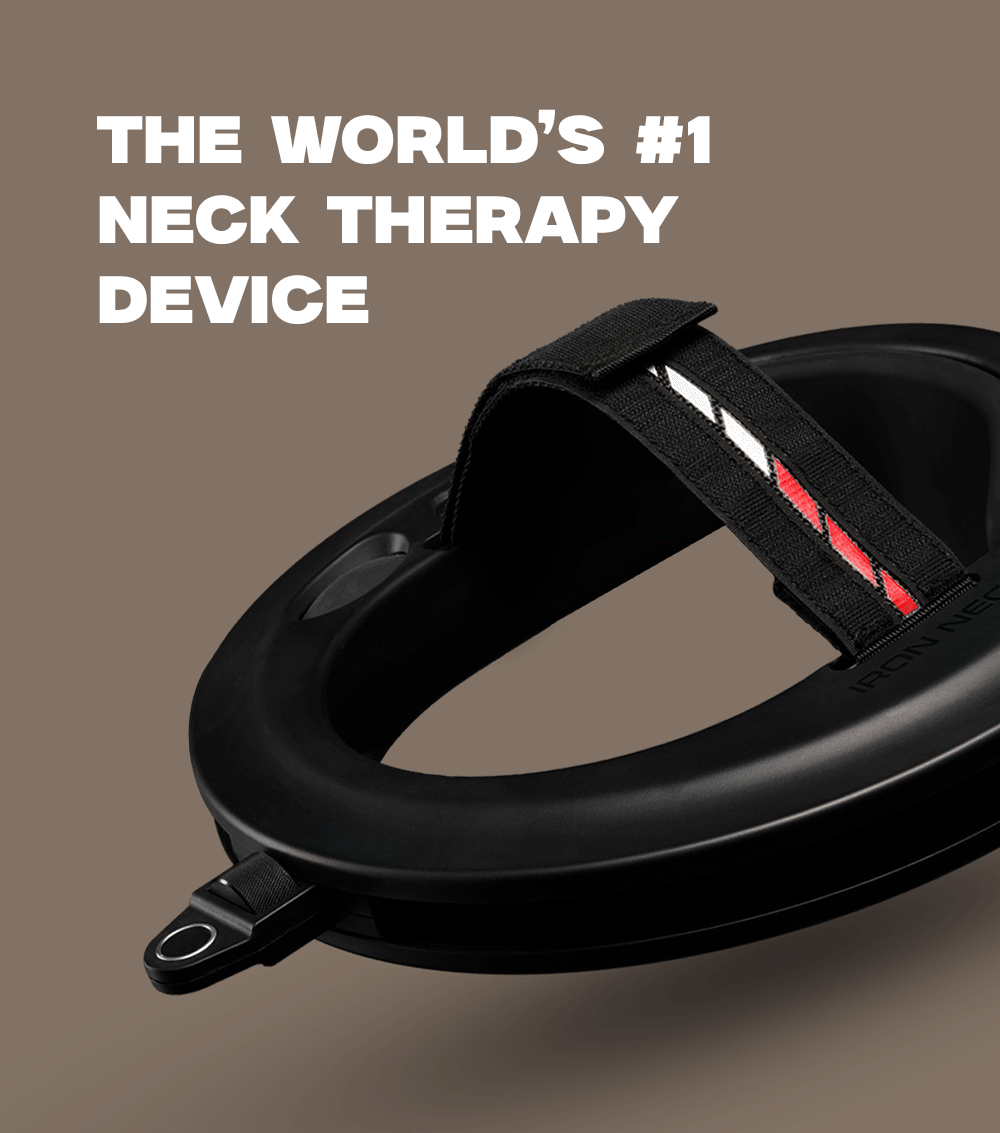
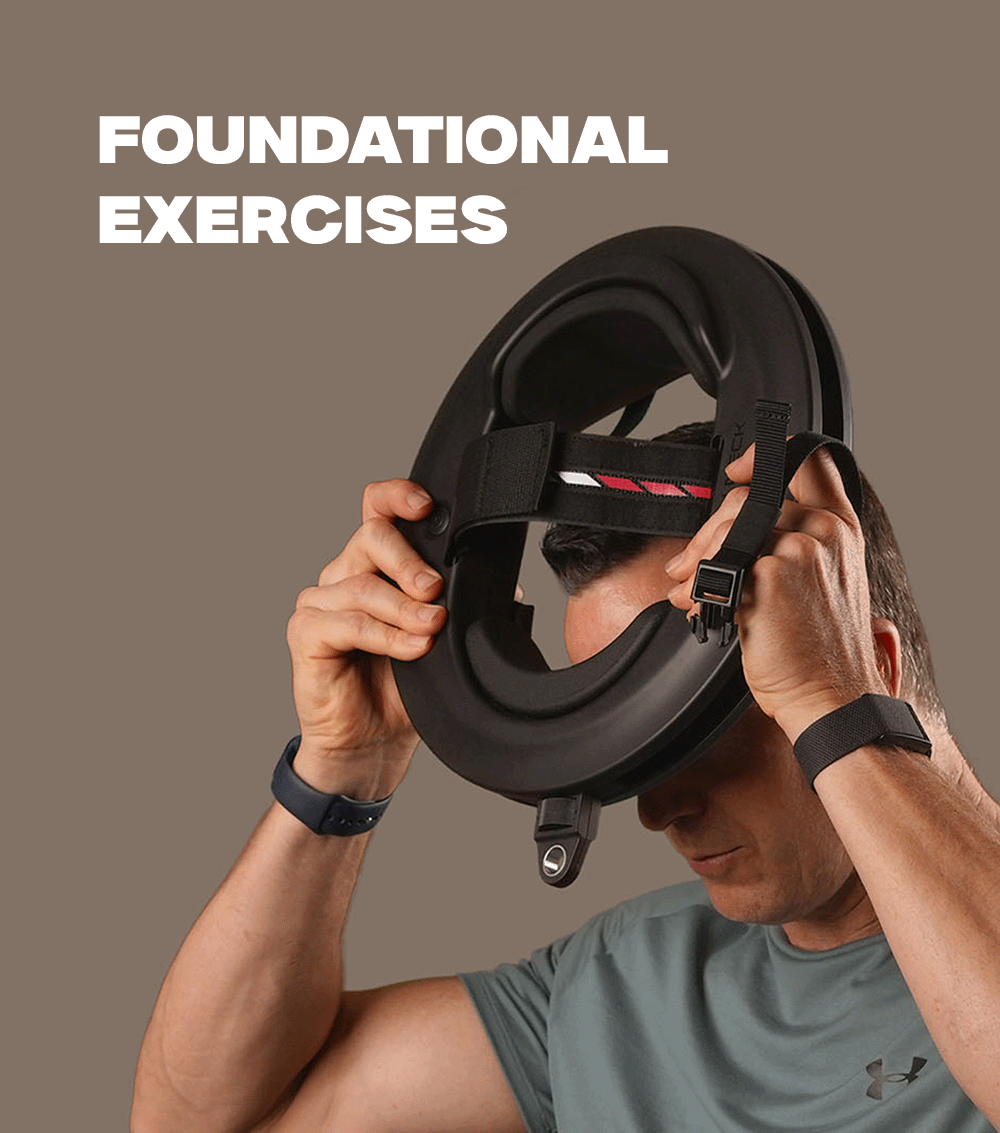
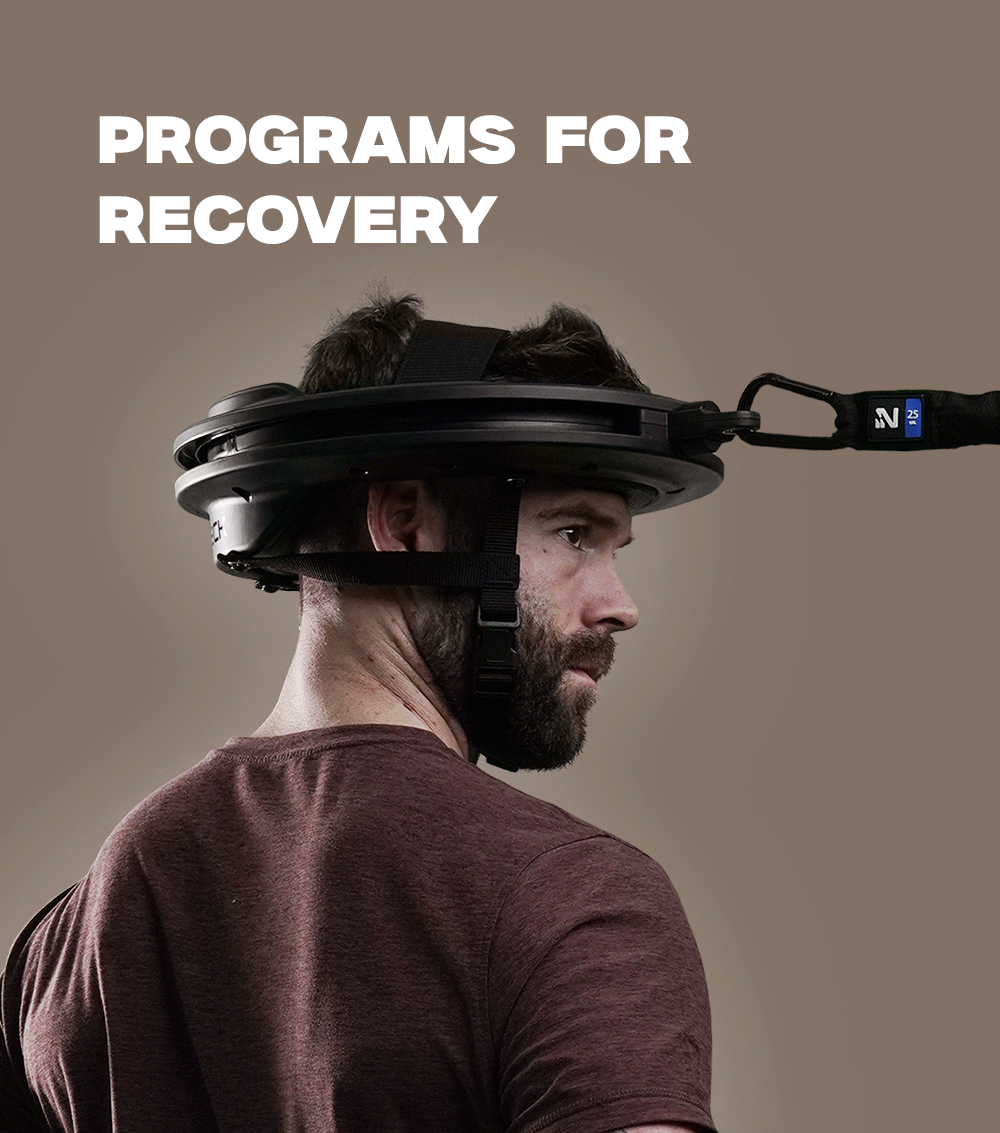
Iron Neck is the only device that trains your neck through 360 degrees of resistance, combining rotation, extension, and lateral movement in one tool. Used by NFL teams, UFC fighters, and physical therapists.


Leave a comment
This site is protected by hCaptcha and the hCaptcha Privacy Policy and Terms of Service apply.