


Forward Head Posture Exercises: A Step-by-Step Correction Protocol
Forward head posture is one of the most common postural dysfunctions in the modern world, and it is also one of the most correctable. When the head sits forward of the shoulders rather than directly above them, the mechanical load on the cervical spine increases dramatically, the muscles of the neck and upper back are forced into chronic imbalance, and the downstream effects on pain, mobility, and even breathing can be significant. The exercises in this guide form a structured, progressive correction protocol based on the same principles used by physical therapists and sports medicine practitioners to address this condition systematically.
Understanding the Mechanics of Forward Head Posture
In ideal alignment, a plumb line dropped from the ear should pass through the shoulder, hip, knee, and ankle. In forward head posture, the ear sits noticeably in front of the shoulder. For every inch of forward displacement, the effective weight of the head on the cervical spine increases by approximately 10 pounds. A head displaced 3 inches forward, which is common in people who spend many hours at a desk or on a phone, places roughly 42 pounds of load on the cervical structures rather than the neutral 10 to 12 pounds.
This sustained overload produces a characteristic pattern of muscle dysfunction. The deep cervical flexors, particularly the longus colli and longus capitis, become inhibited and weak. The suboccipital muscles at the base of the skull become shortened and hypertonic. The upper trapezius and levator scapulae become overloaded and tender. The thoracic spine loses extension mobility, which forces the cervical spine to compensate. Correcting forward head posture requires addressing all of these components, not just stretching the neck.
Self-Assessment: How to Measure Your Forward Head Posture
Before beginning the correction protocol, establish a baseline so you can track your progress. Stand with your back against a wall, heels touching the baseboard, and your shoulder blades in contact with the wall. Note whether the back of your head touches the wall naturally or whether you have to consciously tuck your chin to make contact. If you cannot touch the wall without effort, or if there is a significant gap between your head and the wall, you have measurable forward head posture. Photograph yourself from the side in a relaxed standing position for a visual reference point to compare against in 8 and 16 weeks.
The Correction Protocol
This protocol is organized into three phases. Each phase builds on the previous one. Do not skip ahead to Phase 3 without completing Phase 1 and 2 first, as the mobility work in Phase 1 is a prerequisite for the strengthening work in Phases 2 and 3.
Phase 1: Mobility and Release (Weeks 1 to 2)
The goal of Phase 1 is to restore the thoracic and cervical mobility that has been lost through sustained poor posture. Strengthening exercises performed on a stiff, immobile spine will not produce the postural correction you are looking for. Perform these exercises daily.
Suboccipital Release (3 minutes daily): Lie on your back. Place a small rolled towel or a pair of tennis balls in a sock at the base of your skull, just below the bony ridge. Allow the weight of your head to rest on the towel or balls for 2 to 3 minutes. You may feel a gradual release of tension in the area. This technique decompresses the suboccipital muscles that are chronically compressed in forward head posture.
Thoracic Foam Rolling (5 minutes daily): Place a foam roller perpendicular to your spine at mid-back level. Support your head with your hands. Extend backward over the roller, allowing gravity to open the thoracic segments. Hold each position for 5 to 10 seconds, then shift the roller one inch up your spine. Work from the mid-back to the base of the neck. Perform two complete passes.
Cervical Lateral Flexion Stretch (2 minutes daily): Sit upright. Drop your right ear toward your right shoulder until you feel a stretch along the left side of your neck. Hold for 30 seconds. Repeat on the opposite side. Perform two repetitions per side. This addresses the lateral neck tightness that often accompanies forward head posture.
Phase 2: Deep Flexor Activation and Postural Retraining (Weeks 3 to 6)
Phase 2 introduces the core corrective exercises that directly address the muscle imbalances driving forward head posture. Continue performing the Phase 1 mobility work daily and add the following exercises three to four times per week.
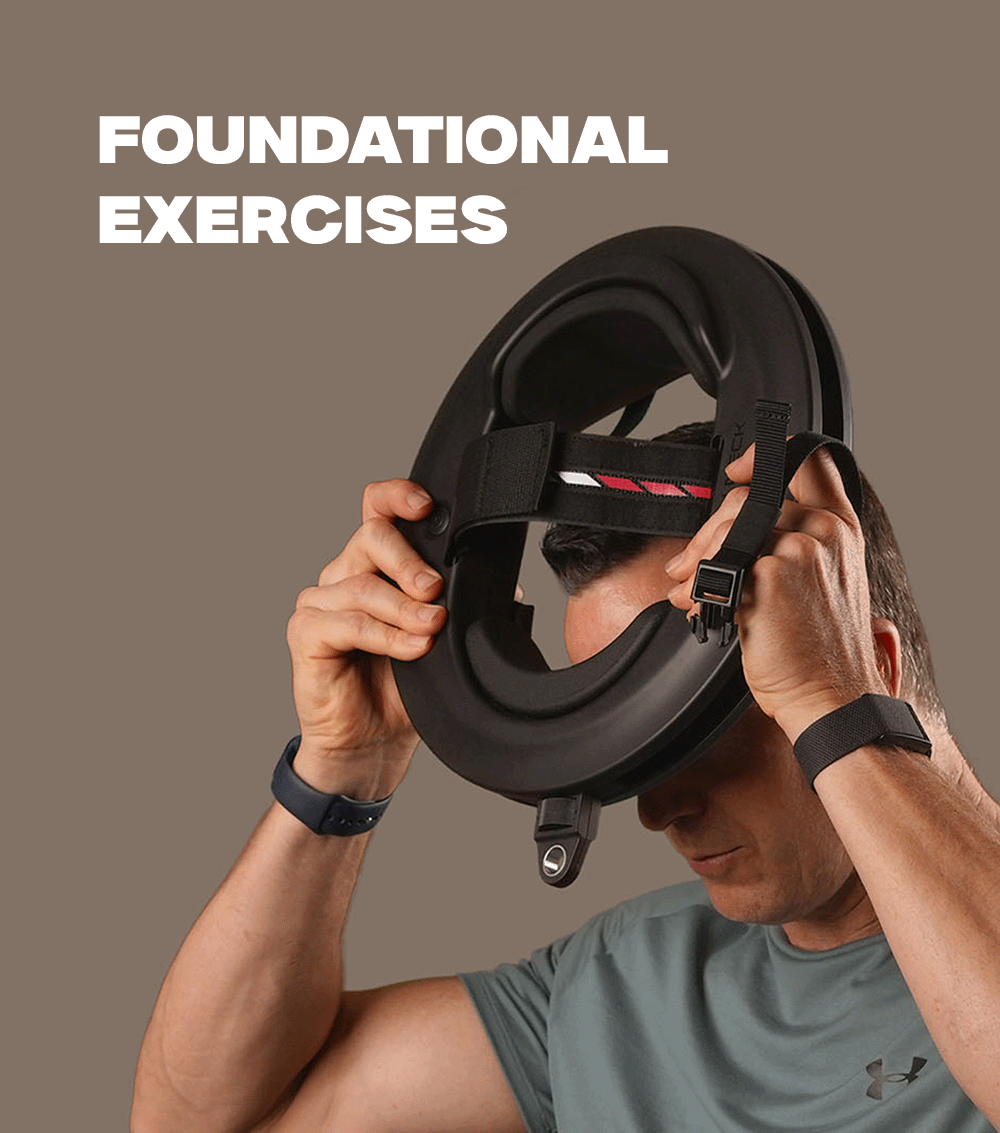
Chin Tucks (3 sets of 15 repetitions): Sit or stand with your back straight. Without tilting your chin, slide your head straight back as if making a double chin. Hold for 3 seconds and release. This is the foundational exercise for forward head posture correction. It activates the deep cervical flexors and stretches the suboccipitals simultaneously. Perform this exercise with precision rather than speed.
Chin Tucks Against a Wall (3 sets of 10 repetitions): Stand with your back against a wall, heels 4 inches from the baseboard, shoulder blades touching the wall. Perform a chin tuck and try to touch the back of your head to the wall. Hold for 5 seconds. This variation adds a proprioceptive cue that helps retrain the nervous system's sense of neutral head position.
Band Face Pulls (3 sets of 15 repetitions): Attach a resistance band at face height. Hold the band with both hands and pull it toward your face while simultaneously externally rotating your shoulders. Squeeze your shoulder blades together and down at the end of the movement. Face pulls activate the lower and mid trapezius while inhibiting the upper trapezius, directly addressing the shoulder and upper back component of forward head posture. The Iron Neck resistance bands are ideal for this exercise, offering the right resistance range for upper back rehabilitation work.
Prone Cobras (3 sets of 12 repetitions): Lie face down with your arms at your sides, palms facing down. Lift your chest, head, and arms off the floor simultaneously by squeezing your shoulder blades together and activating your lower trapezius. Hold for 3 seconds per repetition. This exercise strengthens the thoracic extensors and lower trapezius, which are essential for maintaining an upright thoracic spine.
Phase 3: Progressive Strengthening (Weeks 7 and Beyond)
Once the mobility and basic activation work of Phases 1 and 2 have established a foundation, Phase 3 introduces more demanding strengthening exercises that build the endurance and strength needed to maintain corrected posture throughout a full day of activity.
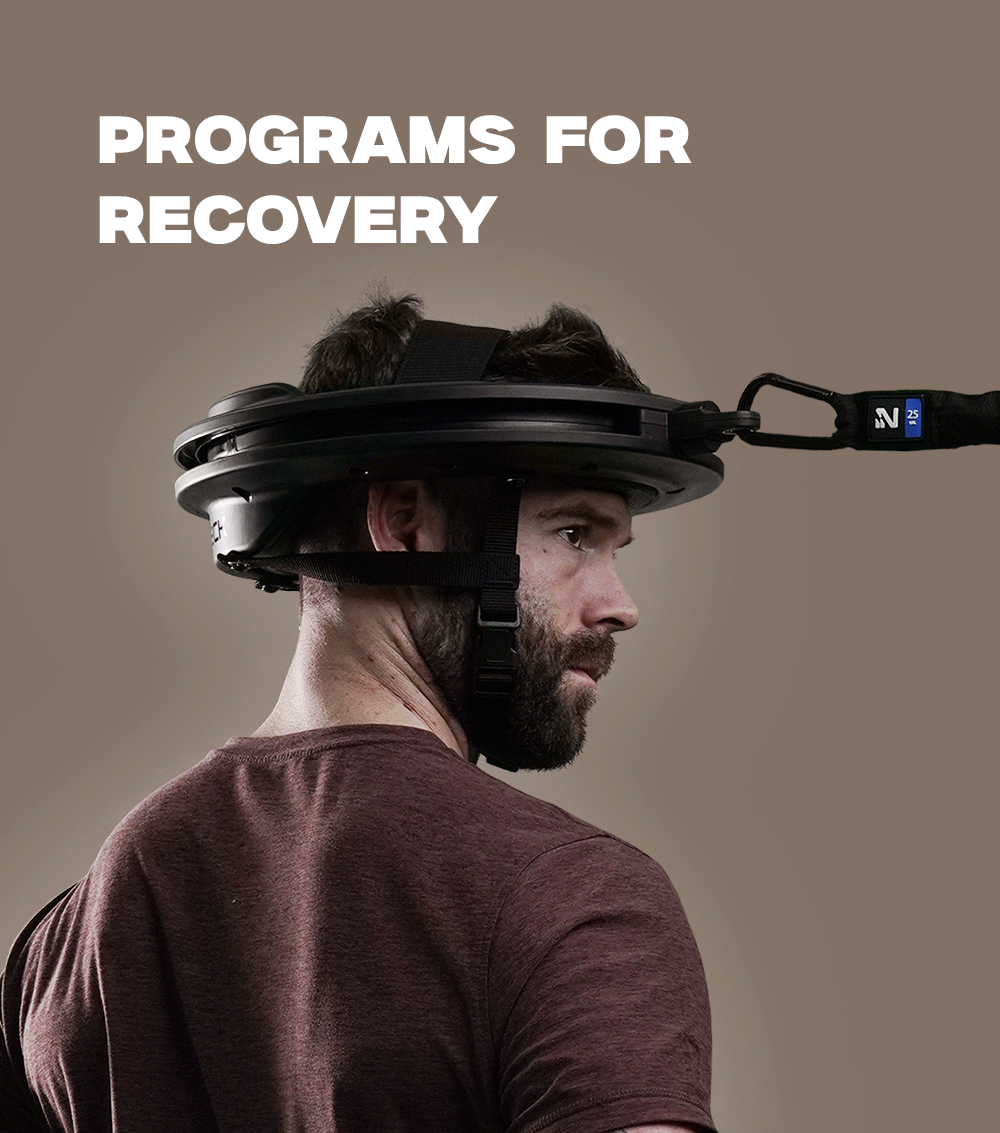
Resisted Cervical Retraction: Adding resistance to the chin tuck movement accelerates the development of the deep cervical flexors. A resistance band held against the forehead while performing retraction, or a dedicated neck training device, provides the progressive overload needed for continued improvement. The Iron Neck device is particularly effective here, as it allows resisted cervical retraction and extension with controlled, adjustable resistance that can be increased as strength improves.
Scapular Strengthening Progression: Progress from band pull-aparts to cable rows and dumbbell rows to build the mid and lower trapezius strength needed to hold the shoulder blades in proper position throughout the day. Perform 3 sets of 12 repetitions of your chosen exercise three times per week.
Dead Hangs (if available): Hanging from a pull-up bar for 30 to 60 seconds decompresses the cervical and thoracic spine while activating the shoulder girdle musculature in a way that reinforces proper alignment. If you have access to a pull-up bar, incorporate 2 to 3 sets of 30-second dead hangs into your routine two to three times per week.
How to Integrate This Protocol into Your Daily Life
The most effective approach is to perform the mobility work in the morning before sitting down at your workstation, and the strengthening exercises in the afternoon or evening. This separates the two types of work and ensures you are not performing strengthening exercises on cold, stiff tissues.
Throughout the day, use environmental cues to check and correct your posture. Every time you sit down at your desk, perform a quick chin tuck and shoulder blade squeeze to reset your alignment. Set a timer to remind you to take a 2-minute posture break every hour. These micro-corrections accumulate over time and accelerate the retraining process.
Realistic Expectations
Forward head posture that has developed over years will not correct in days or weeks. Most people notice a reduction in neck tension and headache frequency within two to four weeks of consistent practice. Visible postural improvement, measurable in photographs, typically takes six to twelve weeks. For people with significant forward head displacement, full correction may take six months to a year of consistent work.
The critical factor is consistency. Performing this protocol four to five days per week produces dramatically better outcomes than sporadic effort. Treat the daily mobility work as non-negotiable, and the strengthening work as a priority rather than an optional add-on.
When Professional Help Is Warranted
This protocol is appropriate for most adults with postural forward head posture and no underlying cervical pathology. Consult a physical therapist or physician before beginning if you have radiating arm pain or numbness, a history of cervical disc herniation or stenosis, significant dizziness with neck movement, or if your symptoms worsen with any of the exercises described. A professional assessment can identify structural factors that require modification of the standard protocol.

Leave a comment
This site is protected by hCaptcha and the hCaptcha Privacy Policy and Terms of Service apply.