


How to Get Rid of Neck Hump: Exercises and Posture Fixes
The rounded prominence at the base of the neck and top of the upper back has several names: dowager's hump, buffalo hump, neck hump, or cervicothoracic kyphosis. Whatever you call it, it is a structural postural problem that develops over years of forward head positioning, thoracic rounding, and insufficient upper back strength. The encouraging reality is that for most people, particularly those under 60 whose hump is primarily postural rather than bony, consistent targeted exercise can produce significant and lasting improvement. This guide explains what causes a neck hump, which exercises address it most effectively, and what realistic progress looks like.
What Causes a Neck Hump?
A neck hump forms through a predictable biomechanical sequence. Prolonged forward head posture, driven by screen use, desk work, and smartphone habits, causes the head to drift forward of the shoulders. As the head moves forward, the cervical spine must extend to keep the eyes level with the horizon, which compresses the posterior cervical structures and creates a characteristic forward-jutting position of the lower neck and upper back.
Over time, the soft tissues at the cervicothoracic junction, the area where the neck meets the upper back, adapt to this position. Fat tissue can accumulate in the area as the body responds to chronic mechanical stress. The thoracic spine loses its natural mobility and becomes fixed in a rounded position. The muscles of the upper back, particularly the lower trapezius and rhomboids, become chronically lengthened and weak, while the pectoral muscles and anterior neck structures shorten and tighten.
In older adults, hormonal changes and bone density loss can contribute to a more structural form of kyphosis that is less responsive to exercise alone. However, the majority of neck humps seen in adults under 60 are primarily postural and muscular in origin, which means they are highly responsive to the right exercise approach.
The Exercise Protocol for Neck Hump Correction
Effective neck hump correction requires addressing three separate but interconnected problems: thoracic spine stiffness, upper back muscle weakness, and forward head posture. An exercise program that addresses only one of these will produce limited results. The protocol below targets all three.
Phase 1: Thoracic Mobility (Daily, 5 minutes)
Before strengthening the upper back, you must restore mobility to the thoracic spine. A stiff thoracic spine cannot be corrected by strength training alone, because the muscles cannot pull the spine into a position it is not mobile enough to reach.
Foam Roller Thoracic Extension: Place a foam roller perpendicular to your spine at the level of your mid-back. Support your head with your hands. Gently extend backward over the roller, allowing gravity to open the thoracic segments. Hold for 5 to 10 seconds, then shift the roller one inch up your spine toward your neck. Work from the mid-back to the base of the neck. Perform two full passes daily.
Thread the Needle: Begin on all fours with your hands directly under your shoulders and knees under your hips. Slide your right arm along the floor under your left arm, rotating your thoracic spine until your right shoulder and temple touch the floor. Hold for 20 seconds. Return to the starting position and repeat on the opposite side. Perform three repetitions per side. This exercise is particularly effective for restoring rotational mobility to the thoracic spine.
Phase 2: Upper Back Strengthening (3 to 4 times per week)
Once thoracic mobility has improved, strengthening the muscles that hold the upper back in proper alignment is the central task. The primary targets are the lower trapezius, mid trapezius, rhomboids, and serratus anterior.
Band Face Pulls: Attach a resistance band to a fixed point at face height. Hold the band with both hands, palms facing each other. Pull the band toward your face while simultaneously externally rotating your shoulders so that your hands end up beside your ears. Squeeze your shoulder blades together and down at the end of the movement. Return slowly to the starting position. Perform 3 sets of 15 repetitions. Face pulls are arguably the single most effective exercise for correcting the shoulder and upper back position that underlies neck hump formation.
Band Pull-Aparts: Hold a resistance band in front of you at chest height with both hands, arms straight. Pull the band apart by squeezing your shoulder blades together until the band touches your chest. Return slowly. Perform 3 sets of 20 repetitions. The Iron Neck resistance bands are well-suited for both face pulls and pull-aparts, offering multiple resistance levels to allow progressive overload over time.
Prone Y-T-W Raises: Lie face down on a mat with your arms extended overhead in a Y position. Lift your arms off the floor by squeezing your lower trapezius, hold for 2 seconds, and lower. Then move your arms to a T position (straight out to the sides) and repeat. Finally, bend your elbows to 90 degrees in a W position and repeat. Perform 2 sets of 10 repetitions in each position. Use no weight initially; add light dumbbells only when you can perform all repetitions with perfect form.
Scapular Wall Slides: Stand with your back against a wall, feet 4 inches from the baseboard. Press your lower back, upper back, and the back of your head against the wall. Place your arms in a goalpost position with elbows and wrists touching the wall. Slowly slide your arms up the wall until they are nearly straight overhead, maintaining contact throughout. Return to the starting position. Perform 3 sets of 12 repetitions.
Phase 3: Cervical Strengthening and Postural Retraining (Daily, 5 minutes)
The final component addresses the forward head position that creates the visible hump at the cervicothoracic junction.
Chin Tucks: Sit or stand upright. Without tilting your chin, slide your head straight back to create a double chin. Hold for 3 seconds and release. Perform 20 repetitions. This exercise activates the deep cervical flexors and directly counteracts the forward head position.
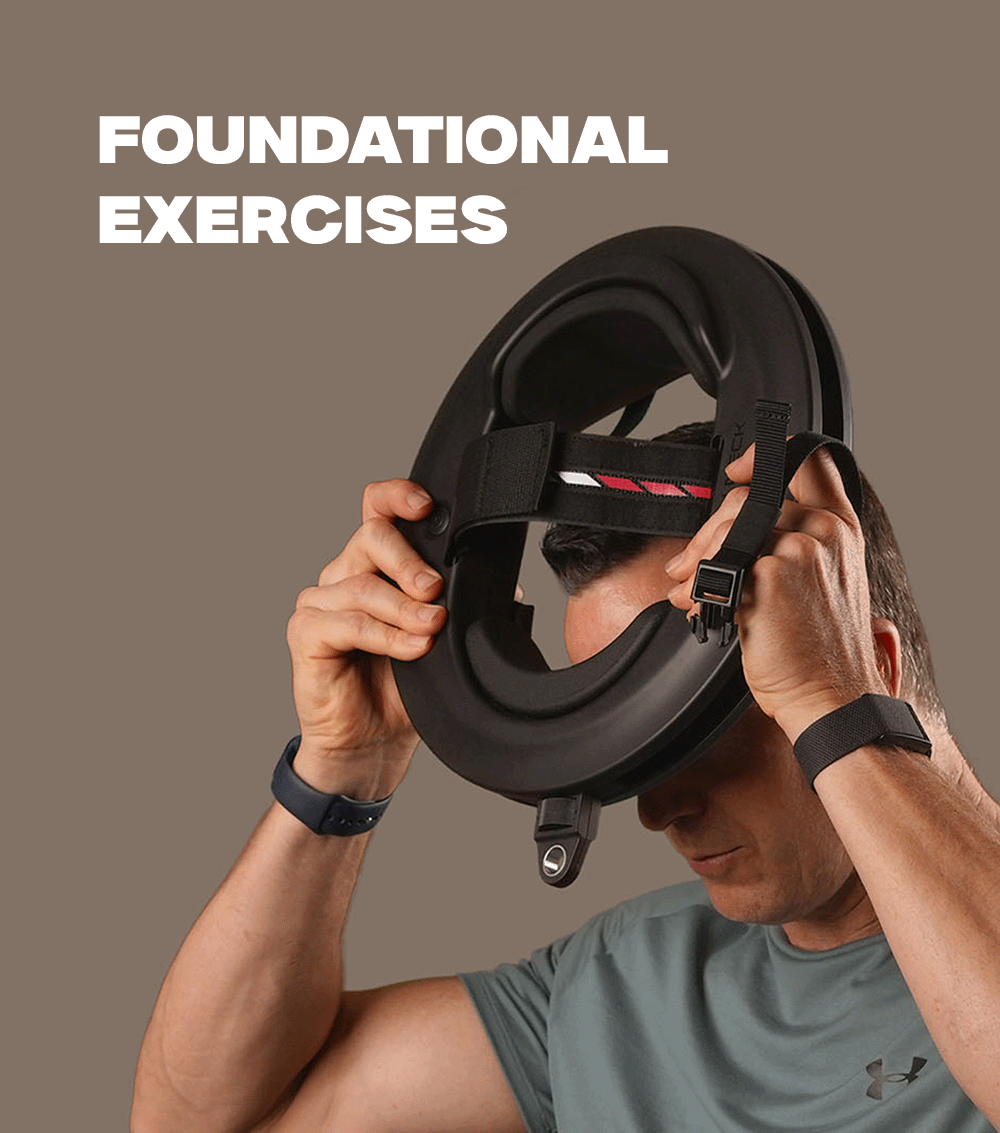
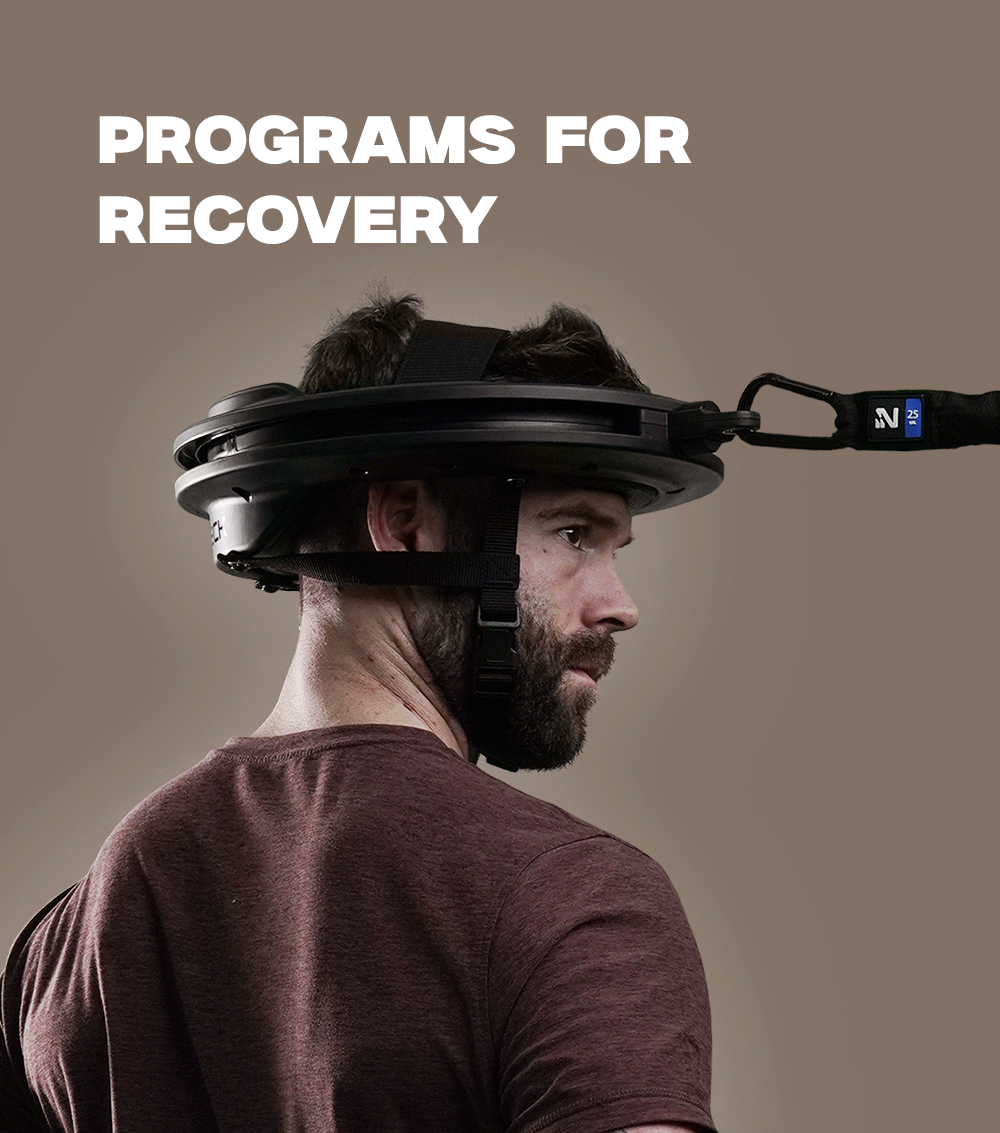
Cervical Retraction with Resistance: For those who have been performing chin tucks for at least four weeks and want to accelerate progress, adding resistance to the retraction movement builds the deep cervical flexors more rapidly. The Iron Neck device allows you to perform resisted cervical retraction and extension with precise control, which is particularly valuable for people with significant forward head posture who need more than bodyweight exercises to see continued progress.
Stretches to Pair with Your Strengthening Work
Strengthening the upper back without simultaneously stretching the structures that have shortened in the forward position will limit your results. The following stretches should be performed daily, ideally after your strengthening exercises when the tissues are warm.
Doorway Chest Stretch: Stand in a doorway with your arms at 90 degrees, forearms resting on the door frame. Step one foot forward and gently lean into the doorway until you feel a stretch across your chest and the front of your shoulders. Hold for 30 seconds. Perform twice. Tight pectorals pull the shoulders forward and contribute directly to the rounded upper back position that creates a neck hump.
Suboccipital Release: Lie on your back with a small rolled towel placed at the base of your skull. Allow the weight of your head to gently compress the suboccipital muscles against the towel. Hold for 2 to 3 minutes. This passive technique releases the suboccipital muscles that become chronically compressed in forward head posture.
Lifestyle Modifications That Accelerate Progress
Exercise is the engine of neck hump correction, but lifestyle changes determine how fast the engine runs. The most impactful changes are ergonomic. Raise your monitor to eye level, use a laptop stand with an external keyboard, and hold your phone at face height rather than looking down at it. These adjustments reduce the number of hours per day your spine spends in the position that created the problem.
Sleeping position also matters. Sleeping on your stomach with your neck rotated to one side places significant rotational stress on the cervical spine and reinforces the forward head position. Side sleeping with a pillow that keeps your neck in neutral alignment, or back sleeping with a cervical support pillow, is preferable.
What Results Are Realistic and How Long Will They Take?
For a postural neck hump in an adult under 50, consistent daily exercise and ergonomic correction can produce visible improvement within 8 to 12 weeks. The hump will not disappear overnight, and in cases where fat tissue has accumulated in the area, exercise alone will not eliminate the fat deposit. However, improving the underlying posture reduces the prominence of the hump significantly, and many people report that the visual change is meaningful even if the fat pad remains.
For adults over 60 or those with a long-standing structural kyphosis, improvement is still possible but will be slower and may be less complete. In these cases, working with a physical therapist who can assess the structural component and tailor the exercise program accordingly is strongly recommended.
The key variable in every case is consistency. The exercises described here are not difficult, but they require daily commitment over a period of months. People who perform this protocol five to six days per week consistently see meaningful results. Those who perform it sporadically do not.
When to See a Doctor
Most postural neck humps do not require medical intervention. However, you should consult a physician if the hump developed rapidly over a period of weeks or months rather than years, if it is accompanied by significant pain, if you have a history of osteoporosis or corticosteroid use, or if you notice neurological symptoms such as arm weakness, numbness, or tingling. These presentations may indicate a medical cause that requires evaluation before beginning an exercise program.

Leave a comment
This site is protected by hCaptcha and the hCaptcha Privacy Policy and Terms of Service apply.