


Cervical retrolisthesis can feel both alarming and frustrating. The stiffness and restricted movement it causes similar to the experience of waking up with sudden neck discomfort and being unable to turn your head, can make even simple daily movements feel daunting. Understanding what is happening in the spine, and knowing which exercises help versus which make things worse, is essential for managing it effectively.
This guide covers what cervical retrolisthesis is, why exercise matters, a graded set of safe movements, the exercises you must avoid, and how to progress your neck training safely over time.
What Is Retrolisthesis in the Neck?
Retrolisthesis occurs when one vertebra in the spine slips backward relative to the vertebra below it. When this happens in the cervical spine, the neck region, it is called cervical retrolisthesis. This backward shift alters the alignment of the spine and can affect how the neck moves during everyday activities [5].
It is distinct from spondylolisthesis, in which a vertebra slips forward rather than backward. Retrolisthesis is typically identified through X-ray imaging, which clearly shows the positional relationship between adjacent vertebrae. In some cases, MRI or CT imaging is used to assess the degree of nerve or soft tissue involvement, as outlined in the ACR imaging criteria for cervical spine conditions [5].
How Is It Graded?
Retrolisthesis is generally classified into three grades based on the degree of vertebral displacement:
- Grade 1: Up to 25% slip - mild displacement, often managed conservatively with exercise and physiotherapy
- Grade 2: 25% to 50% slip - moderate displacement, requiring careful exercise selection and clinical oversight
- Grade 3: 50% to 75% slip - significant displacement, typically requiring specialist management before any exercise programme begins
- Grade 4: 75% or more - severe displacement, requiring specialist assessment; exercise without clinical clearance is contraindicated
Understanding your grade matters because it directly determines which exercises are appropriate and what level of clinical supervision is needed before you start.
Common Causes
- Natural ageing and degenerative disc changes - the most common driver
- Injuries from falls, accidents, or sports impacts - see our guide on neck setbacks in sports for recovery context
- Cumulative poor posture over years - bad neck posture creates sustained loading patterns that accelerate disc and facet joint degeneration
- Congenital spinal anatomy that predisposes certain individuals to vertebral displacement
Why Exercise Matters for Cervical Retrolisthesis
Exercise cannot reposition a displaced vertebra, that is an important distinction to make clearly. What exercise can do is strengthen the muscles that support the cervical spine, reduce stiffness in the surrounding soft tissues, improve postural alignment, and reduce the compressive load that displaced vertebrae place on adjacent structures [1, 6].
Understanding the benefits of a strong neck is particularly relevant here, strong cervical musculature acts as an active support system for the spine, distributing load more effectively and reducing the mechanical stress that vertebral displacement creates.
The key distinction with retrolisthesis is that not all exercise is equally appropriate. Some movements actively support recovery; others place shear or compressive forces on the already-displaced vertebra and can worsen symptoms or accelerate structural damage. This is why exercise selection and knowing what to avoid is the central challenge of managing this condition [1, 7].
Important before you begin: Work only in a comfortable mid-range. Move slowly and never hold your breath. Stop immediately if you notice dizziness, visual changes, numbness, tingling, weakness, unsteadiness, or electric-like facial discomfort. Do not perform ballistic or high-velocity neck movements under any circumstances [1, 3].
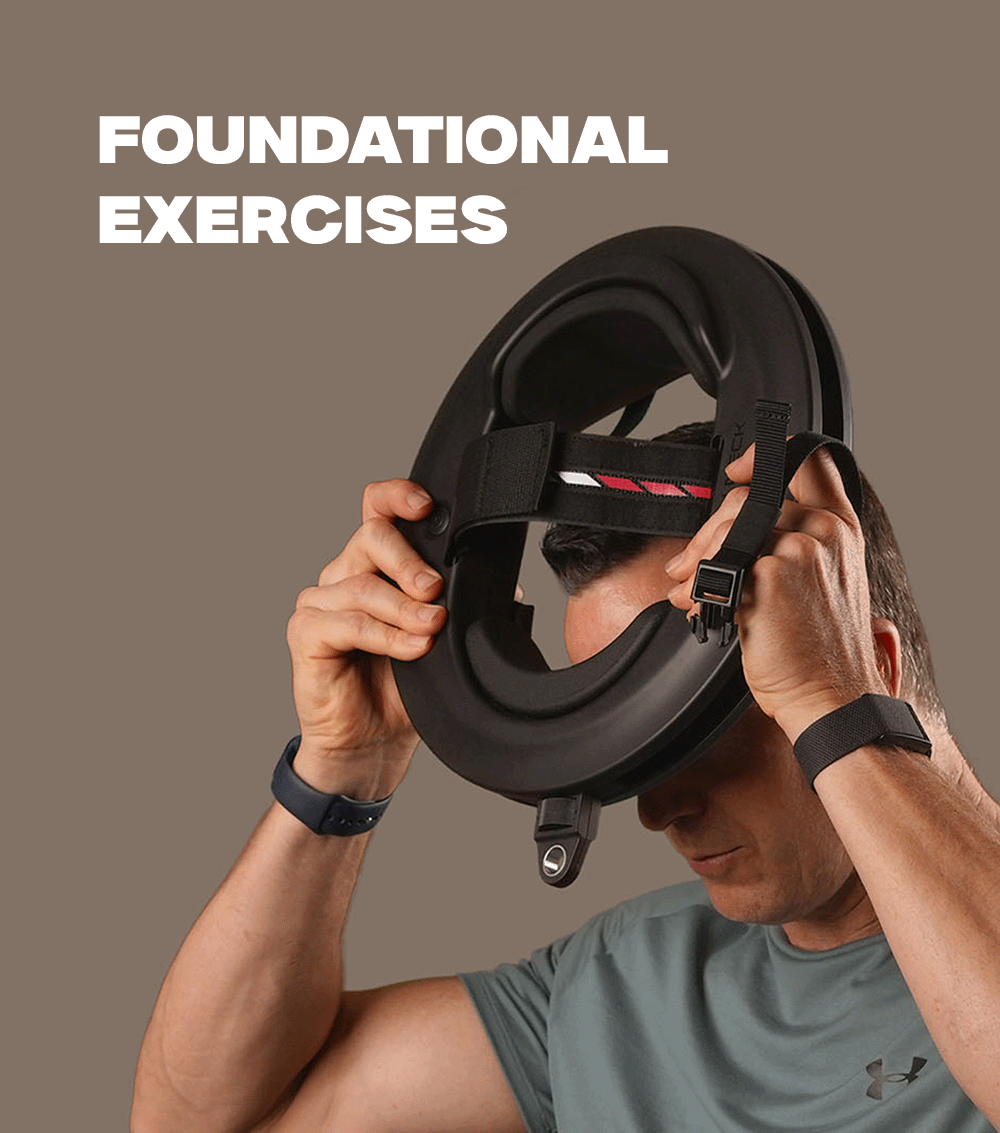
Safe Retrolisthesis Neck Exercises
These exercises prioritise gentle engagement, postural control, and mid-range movement. They are appropriate for most people with Grade 1 to 2 cervical retrolisthesis. Anyone with Grade 3 or above should obtain clinical clearance before beginning any exercise programme.
1. Chin Tucks
Chin tucks are one of the most effective and safest exercises for cervical retrolisthesis. They activate the deep cervical flexors, the muscles that provide the most direct postural support to the cervical spine without placing shear or compressive load on the displaced segment. They also directly address the forward head position that tends to accompany and worsen retrolisthesis [1].
The neck curl exercise builds on the same deep flexor activation pattern as the chin tuck, it is the natural progression once chin tucks are comfortable and controlled.
How to do it:
- Sit or stand tall with eyes facing forward and shoulders relaxed
- Gently draw your chin straight back, as if making a double chin, the movement is horizontal, not downward
- Hold briefly for 3 to 5 seconds, then return to neutral
- Repeat 8 to 10 times, keeping the movement smooth and controlled throughout
The chin tuck also directly relieves tension in the suboccipital muscles at the base of the skull, a common source of referred discomfort in people with cervical retrolisthesis.
2. Cervical Flexion - Controlled Range Only
How to do it:
- Sit or stand upright with shoulders relaxed
- Slowly lower your chin toward your chest until you feel a gentle stretch
- Return to the starting position smoothly
- Allow only a small, comfortable lift of the gaze on the return, keep the neck near neutral; do not extend to end-range
- Repeat 8 to 10 times at a steady, controlled pace
3. Side-to-Side Neck Tilts - Mid-Range Only
How to do it:
- Keep your back straight and shoulders level throughout
- Slowly tilt your head toward one shoulder within a comfortable mid-range, do not try to bring your ear to your shoulder or push to end-range
- Return to centre with control, then repeat on the other side
- Perform equal repetitions on each side - 8 to 10 per side
4. Isometric Neck Contractions
Isometric exercises are particularly well-suited to retrolisthesis because they build cervical muscle strength without producing any movement at the affected vertebral segment, meaning no shear force is applied to the displaced bone.
How to do it:
- Place one hand flat against the side of your head
- Keep the neck in a neutral position and apply light, steady pressure with your hand, do not allow any movement
- Hold the tension for 5 to 8 seconds, then release
- Repeat on the opposite side, and also front and back
- Do not press downward on the top of the head at any point
Dosage: 6 to 8 holds per direction; once or twice daily [1].
5. Shoulder Retraction
The muscles of the upper back and shoulder girdle are closely connected to cervical posture. Weak or inhibited scapular stabilisers allow the shoulders to round forward, which in turn pulls the cervical spine into the forward head position that aggravates retrolisthesis. Shoulder retraction addresses this directly.
How to do it:
- Sit or stand with arms relaxed at your sides
- Squeeze your shoulder blades together and hold for 3 to 5 seconds
- Release slowly and repeat 10 to 12 times
- Keep the chest open and posture upright throughout, do not shrug the shoulders upward
Exercises to Avoid With Cervical Retrolisthesis
These movements place excessive compressive, shear, or rotational forces on the cervical spine and are contraindicated for people managing retrolisthesis. Do not attempt them without explicit clearance from your physiotherapist or specialist.
High-Impact Activities
Running, jumping, contact sports, and any activity that creates strong repetitive impact through the spine challenges vertebral stability in ways that are not appropriate for retrolisthesis. The repeated jarring forces can stress the displaced segment and surrounding structures.
Deep Backbends and Cervical Hyperextension
Exercises involving extreme cervical extension, wheel pose or bridge pose in yoga, unsupervised neck extensions, or any movement that pushes the head and neck far backward, place significant compressive and shear load on the posterior cervical structures. This is directly contraindicated with retrolisthesis.
Unsupported Neck Loading
Movements that require the neck to bear significant bodyweight, neck bridges, headstands, handstands, are among the highest-risk exercises for anyone with a cervical spine condition. The compressive forces involved are far beyond what is appropriate for a displaced vertebra. These should be avoided entirely [7].
Loaded End-Range Rotation or Extension
Even with assistance from a tool or trainer, loaded end-range rotation or extension increases cervical and vascular stress significantly. These positions can aggravate the displaced segment and in people with vascular vulnerability, carry additional risk of cervical artery injury [3].
Jerky Sit-Ups and Pulling Motions
Traditional sit-ups that involve yanking the head forward, or any movement that creates rapid uncontrolled cervical flexion, should be replaced with smooth, controlled alternatives. The sudden load through the cervical spine is inappropriate for retrolisthesis management.
Progression: Building Safely Over Time
The principle for progressing neck exercises with retrolisthesis is gradual load increase with consistent clinical monitoring. Follow this framework:
Weeks 1 to 4 - Foundation Focus exclusively on chin tucks, isometric holds, and shoulder retractions. Master the movement patterns, build awareness of neutral neck position, and establish consistency before adding any range of motion work.
Weeks 4 to 8 - Range of Motion Add controlled cervical flexion and side tilts in comfortable mid-range. All movements remain slow, controlled, and within a pain-free range. Do not push to end-range at this stage.
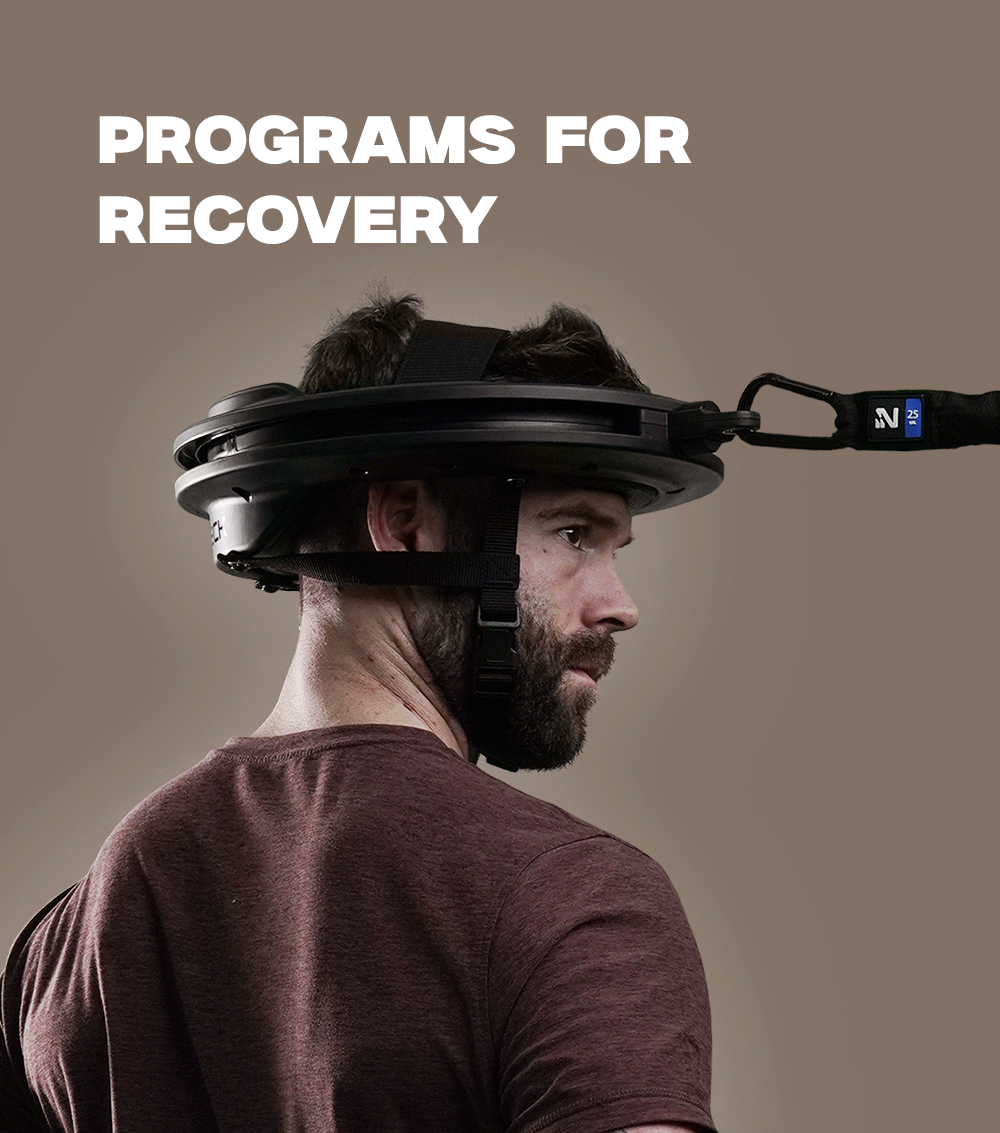
Weeks 8 onwards - Progressive Load Under clinical guidance, begin introducing light resistance using bands or a structured tool such as Iron Neck. Follow the resistance training progression principles from the ACSM, incremental load increases, adequate recovery, and consistent monitoring of symptoms [6].
If symptoms increase at any stage, reduce volume, return to the previous stage, and seek clinical assessment before continuing.
Using Iron Neck Safely With Retrolisthesis
Structured resistance tools can complement bodyweight exercises for retrolisthesis when used appropriately - meaning light resistance, neutral or small mid-range positions, and full control throughout.
Iron Neck provides multi-directional resistance in a guided, adjustable format that supports smooth, controlled movement without the compressive loading associated with bodyweight exercises like bridges or headstands. Because resistance is adjustable, it allows genuine progressive overload - starting with minimal tension and building incrementally as strength and control improve.
Important usage rules for retrolisthesis:
- Use light resistance only - do not progress load faster than your symptoms allow
- Stay in neutral or small mid-range positions, do not use the device to train end-range movements
- Do not perform continuous full-circle motions under resistance
- Stop immediately with any neurological or vascular warning signs - dizziness, visual changes, tingling, or weakness [1, 3]
When to See a Doctor or Physiotherapist
Retrolisthesis is a structural condition that benefits significantly from professional assessment and guidance. You should seek clinical input:
- Before starting any exercise programme if your retrolisthesis has not been professionally assessed or graded
- If you experience numbness, tingling, or weakness radiating into your arms or hands
- If dizziness or visual changes occur during or after neck exercises — stop immediately and seek urgent care [3]
- If discomfort is worsening rather than improving with exercise
- If you have Grade 3 or 4 displacement - exercise without clinical clearance is contraindicated at this level
- If symptoms follow a recent trauma, fall, or accident
The following people should not begin neck exercises without clinical clearance:
- Recent significant neck trauma or suspected fracture
- Progressive neurological deficit, gait disturbance, or hand clumsiness
- Known vertebral or carotid artery disease, or recent stroke or TIA
- Post-operative cervical spine status without surgeon clearance
- Connective tissue laxity disorders or diagnosed cervical instability
- Severe osteoporosis
Frequently Asked Questions
1. Is retrolisthesis the same as a slipped disc?
No. Retrolisthesis involves the vertebra itself slipping backward, while a slipped or herniated, disc refers to the soft disc between vertebrae moving out of position. Both affect the cervical spine but involve different structures. It is possible to have both simultaneously, which is why imaging and clinical assessment are important for accurate diagnosis [5].
2. What is cervical retrolisthesis?
Cervical retrolisthesis is when one of the bones in the neck slips backward relative to the vertebra below it. This shift alters spinal alignment and can affect posture, range of motion, and comfort. It is detected through X-ray or MRI imaging and graded by the degree of displacement [5].
3. Can exercises actually help retrolisthesis?
Exercise cannot reposition the displaced vertebra, but it can meaningfully improve the situation by strengthening the muscles that support the cervical spine, reducing stiffness, improving postural alignment, and decreasing the compressive load on the affected segment. Consistent, appropriate exercise makes daily movement easier and more comfortable [1, 6].
4. What exercises must be avoided with retrolisthesis?
High-impact activities, deep backbends, unsupported neck loading such as neck bridges and headstands, loaded end-range rotation or extension, and jerky pulling motions should all be avoided. These movements place shear, compressive, or rotational forces on the displaced vertebra that can worsen the condition or increase vascular risk [1, 3, 7].
5. How is retrolisthesis graded and why does it matter for exercise?
Retrolisthesis is graded 1 to 4 based on the percentage of vertebral slip. Grade determines which exercises are appropriate, Grade 1 to 2 can typically begin a conservative exercise programme with clinical guidance; Grade 3 to 4 requires specialist assessment before any loading. Exercising without knowing your grade carries significant risk.
6. Can tools like the Iron Neck help with retrolisthesis?
Yes, when used correctly. Iron Neck provides controlled, adjustable resistance in guided movement patterns, allowing progressive strengthening without the compressive loading of bridging or headstands. Light resistance, neutral positions, and mid-range movements only and stop immediately with any neurological or vascular warning signs [1, 3].
References:
- Blanpied PR, Gross AR, Elliott JM, et al. Neck Pain: Clinical Practice Guidelines. J Orthop Sports Phys Ther. 2017;47(7):A1–A83.
- Childress MA, Stuek SJ. Neck pain: initial evaluation and management. Am Fam Physician. 2020;102(3):150–156.
- Yaghi S, Jadhav AP, Engelter S, et al. Treatment and outcomes of cervical artery dissection in adults: AHA/ASA scientific statement. Stroke. 2024;55(3):e91–e106.
- North American Spine Society. Diagnosis and Treatment of Cervical Radiculopathy from Degenerative Disorders. Burr Ridge, IL: NASS; 2011. PDF guideline.
- ACR Appropriateness Criteria®: Cervical Pain or Cervical Radiculopathy. J Am Coll Radiol. 2025 update.
- American College of Sports Medicine. Position stand: progression models in resistance training for healthy adults. Med Sci Sports Exerc. 2009;41(3):687–708.
- Mills BM, et al. Consensus recommendations on prehospital care of the injured athlete with suspected catastrophic cervical spine injury. J Athl Train. 2020;55(6):563–572.
Disclaimer: The Iron Neck blog provides educational content on neck training, fitness, and recovery. It’s not a substitute for medical advice, please consult a healthcare professional before starting any new exercise or recovery program.
Iron Neck is the only device that trains your neck through 360 degrees of resistance, combining rotation, extension, and lateral movement in one tool. Used by NFL teams, UFC fighters, and physical therapists.


Leave a comment
This site is protected by hCaptcha and the hCaptcha Privacy Policy and Terms of Service apply.