


How to Correct Forward Head Posture: The Exercise-First Approach
Forward head posture is correctable. That statement needs to be made clearly at the outset, because many people who have lived with this condition for years have been told, or have come to believe, that it is simply the way their body is built. In most cases, that is not true. Forward head posture that has developed through habitual positioning and muscle imbalance, rather than through structural bone changes or congenital conditions, responds well to a systematic exercise-first approach. This guide gives you that approach in practical, actionable terms.
The Exercise-First Principle
The exercise-first approach to forward head posture correction means prioritizing active muscle training over passive interventions such as braces, posture correctors, and massage. This does not mean those interventions have no value. Massage can reduce the tension in overactive muscles and make the strengthening work more comfortable. Posture braces can serve as awareness tools. But neither of these interventions addresses the root cause of forward head posture, which is a specific pattern of muscle weakness and inhibition.
The muscles that are weak in forward head posture are the deep cervical flexors (longus colli and longus capitis), the lower trapezius, the serratus anterior, and the thoracic extensors. The muscles that are overactive are the upper trapezius, levator scapulae, and suboccipitals. Correcting forward head posture means strengthening the weak muscles and releasing the overactive ones. Exercise is the only intervention that accomplishes this directly.
Step 1: Release the Overactive Muscles
Before strengthening the weak muscles, it is helpful to reduce the tension in the overactive ones. This makes the strengthening exercises more effective by reducing the reciprocal inhibition that the overactive muscles impose on their antagonists.
Suboccipital Release: Lie on your back with a small rolled towel at the base of your skull. Allow the weight of your head to compress the suboccipital muscles against the towel for 2 to 3 minutes. This technique reduces the hypertonicity of the suboccipitals that is characteristic of forward head posture.
Levator Scapulae Stretch: Sit upright. Reach your right hand over your head and place it on the back-left side of your skull. Gently pull your head forward and to the right at a 45-degree angle until you feel a stretch along the left side of your neck and into your left shoulder blade. Hold for 30 seconds. Repeat on the opposite side. Perform twice per side.
Chest Opening Stretch: Stand in a doorway with your arms at 90 degrees, forearms on the door frame. Step forward until you feel a stretch across your chest and the front of your shoulders. Hold for 30 seconds. Perform twice. Tight pectorals pull the shoulders forward and contribute to the rounded upper back that drives forward head posture.
Step 2: Activate the Deep Cervical Flexors
The deep cervical flexors are the most important muscles to train for forward head posture correction. They are also the most commonly neglected. Most people have never performed a targeted deep cervical flexor exercise in their lives, which is one reason forward head posture is so prevalent.
Chin Tucks: Sit or stand with your back straight. Without tilting your chin up or down, slide your head straight back as if making a double chin. Hold for 3 seconds and release. Perform 3 sets of 15 repetitions daily. This is the foundational exercise for deep cervical flexor activation. Perform it with precision and control rather than speed.
Supine Chin Tucks: Lie on your back on a firm surface. Perform a chin tuck by pressing the back of your head gently into the surface while keeping your chin tucked. Hold for 5 seconds. Perform 3 sets of 10 repetitions. The supine position removes the effect of gravity and allows you to focus purely on the deep flexor activation pattern.
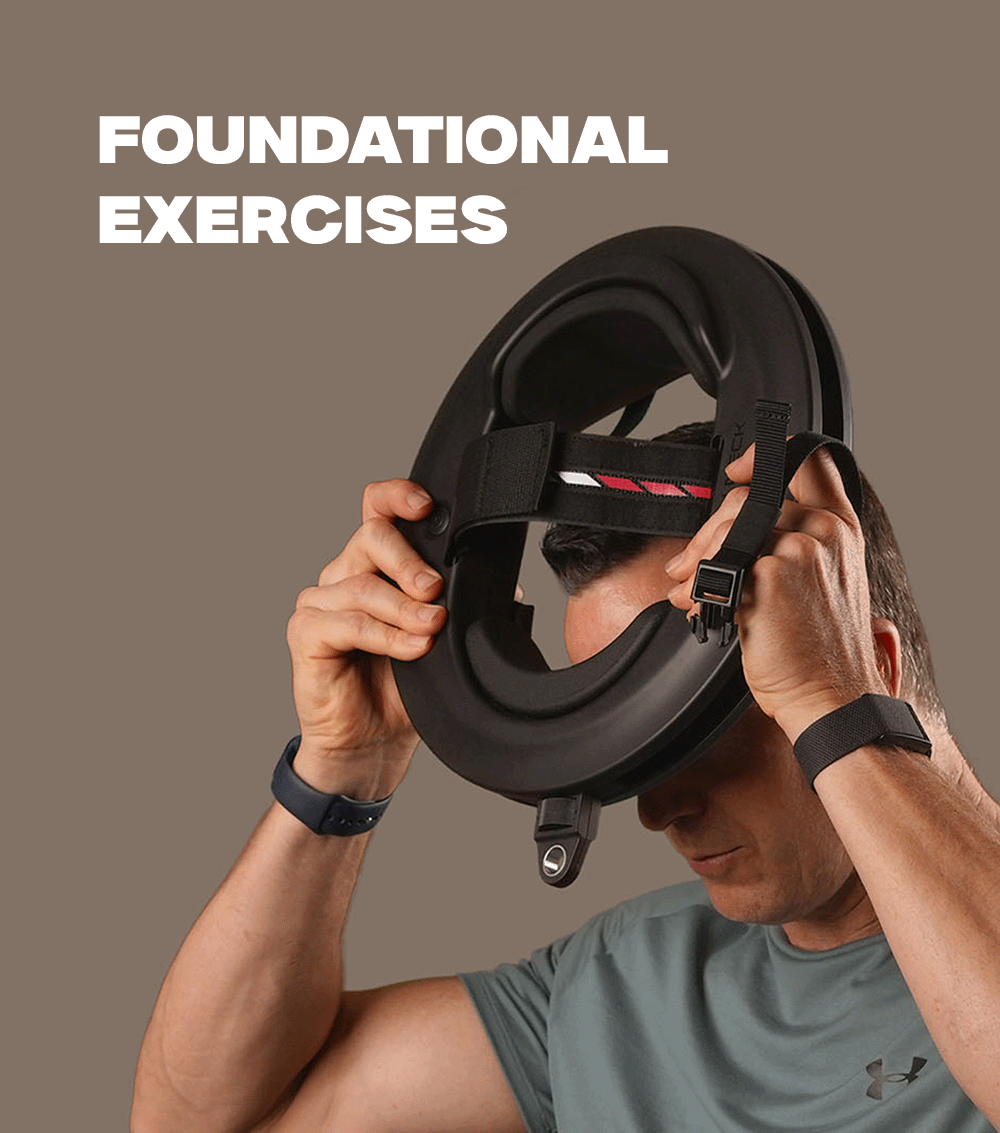
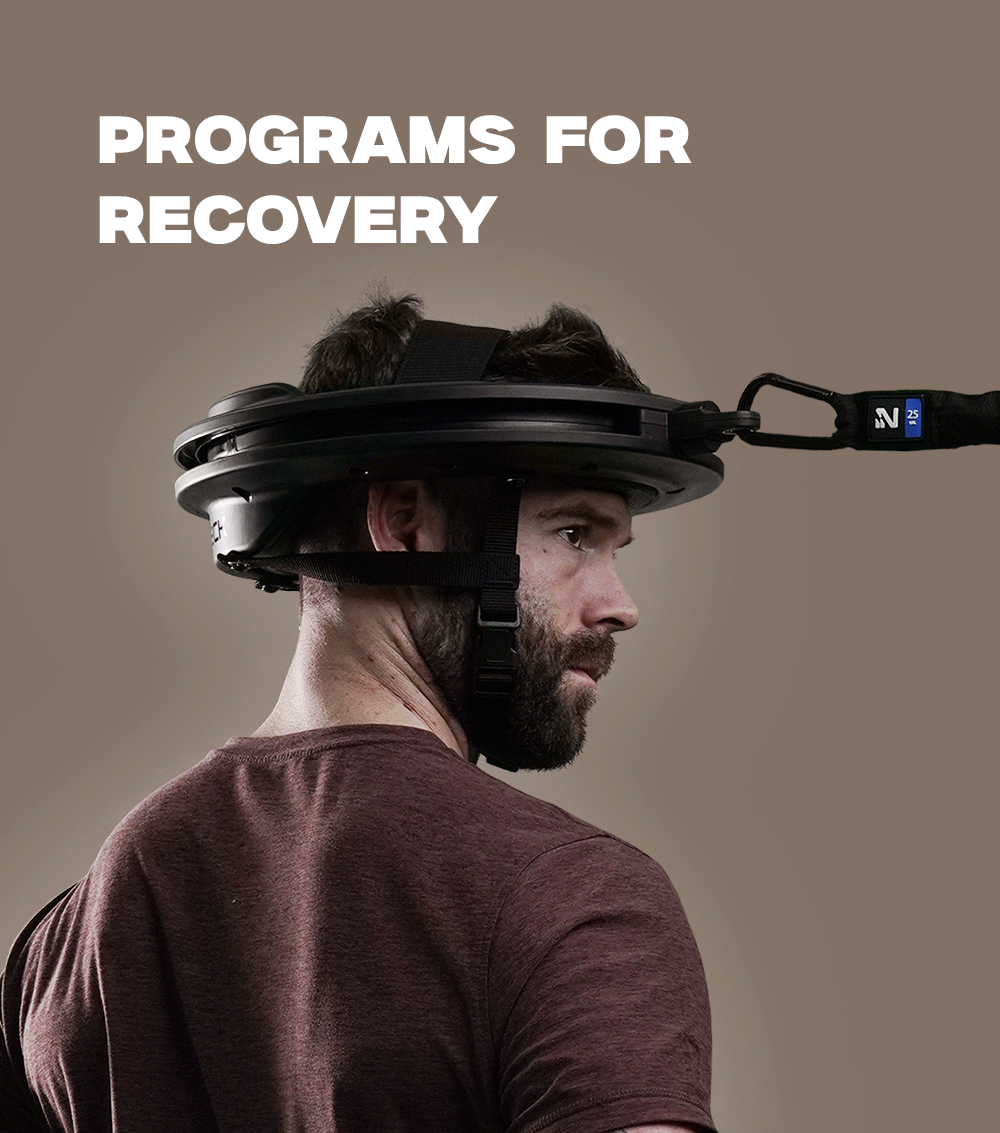
Resisted Cervical Retraction: Once you have been performing chin tucks for four to six weeks, adding resistance accelerates the development of the deep cervical flexors. A resistance band held against the forehead provides a simple form of resistance. For more systematic and progressive resistance, the Iron Neck device provides adjustable, 360-degree resistance that allows you to train cervical retraction and extension with the same progressive overload principles used in strength training.
Step 3: Strengthen the Upper Back
The shoulder blade position is the foundation on which the head position rests. If the shoulder blades are rounded forward and the upper back is kyphotic, the head cannot sit over the shoulders regardless of how strong the deep cervical flexors are. Upper back strengthening is therefore an essential component of forward head posture correction, not an optional add-on.
Band Face Pulls: Attach a resistance band at face height. Hold the band with both hands and pull it toward your face while simultaneously externally rotating your shoulders. Squeeze your shoulder blades together and down at the end of the movement. Perform 3 sets of 15 repetitions, three to four times per week. The Iron Neck resistance bands are ideal for this exercise.
Band Pull-Aparts: Hold a resistance band in front of you at chest height with both hands, arms straight. Pull the band apart by squeezing your shoulder blades together until the band touches your chest. Return slowly. Perform 3 sets of 20 repetitions.
Prone Y Raises: Lie face down with your arms extended overhead in a Y position. Lift your arms off the floor by squeezing your lower trapezius. Hold for 2 seconds and lower. Perform 3 sets of 12 repetitions. Use no weight initially.
Step 4: Restore Thoracic Mobility
Thoracic extension mobility is a prerequisite for cervical correction. Perform foam roller thoracic extension daily: place the roller at mid-back level, extend backward over it, hold for 5 to 10 seconds per segment, and work from mid-back to the base of the neck. Two passes daily is sufficient for most people.
Step 5: Retrain Your Posture Habits
Exercise produces the structural changes needed for correction. Habit retraining ensures those changes are reinforced throughout the day rather than being undone by hours of poor positioning. Raise your monitor to eye level. Hold your phone at face height. Set a timer to perform a quick chin tuck and shoulder blade squeeze every hour. These micro-corrections accumulate and accelerate the retraining process.
How Long Does Correction Take?
Most people notice reduced neck tension within two to four weeks. Visible postural improvement typically takes six to twelve weeks of consistent practice. Full correction, meaning the corrected position feels natural and effortless, typically takes four to six months. The timeline depends on the severity of the initial displacement, the consistency of the exercise practice, and how effectively ergonomic factors are addressed.


Leave a comment
This site is protected by hCaptcha and the hCaptcha Privacy Policy and Terms of Service apply.